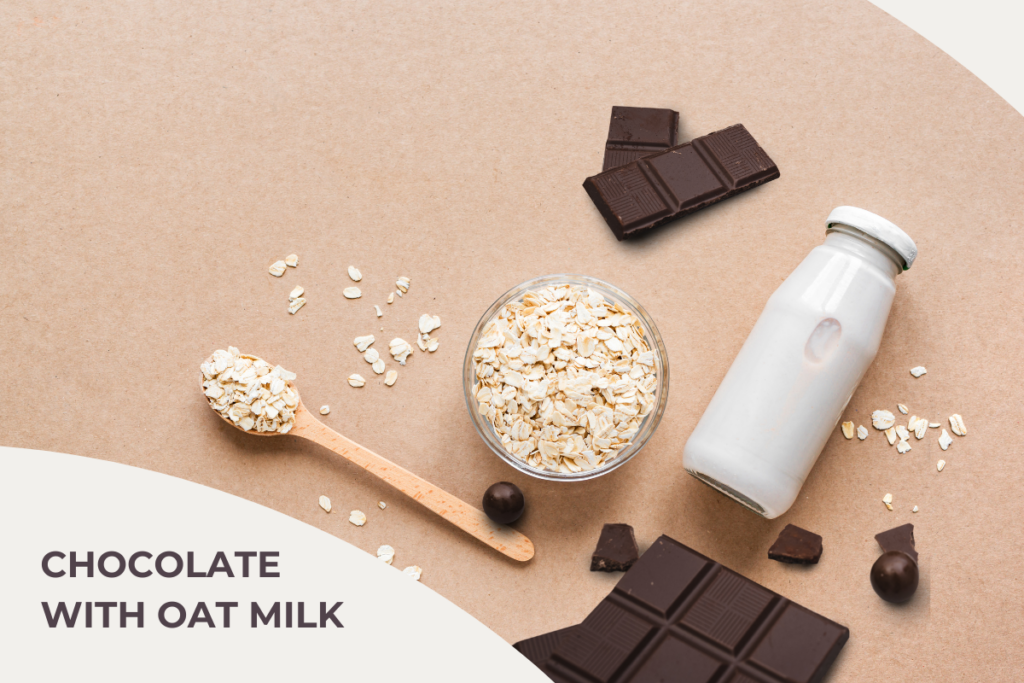
Growing chocolate at home might sound like a wild idea, right? Chocolate originates from cacao trees, which demand a tropical climate, specific growing conditions, and several years to reach maturity in order to flower and fruit to produce cacao pods. However, our CocoTerra founder, Nate Saal, took on the challenge and grew cacao trees in Northern California to test the limits of growing cacao. Surprisingly, he succeeded!
Keep reading to discover how you can grow a cacao tree in your home and make your own chocolate.
What is needed to grow chocolate at home?
To grow chocolate, you’ll need a few essential items:
- Cacao seeds or seedlings
- A series of small to large pots
- A tropical/subtropical climate or a warm indoor space (an outdoor greenhouse can also work)
- A window or skylight with filtered sunlight
- Water
- Soil and fertilizer
Should I grow my chocolate indoors or outdoors?
Deciding whether to grow your chocolate indoors or outdoors depends on where you live and what temperatures the tree will be exposed to in your particular environment. Cacao trees usually do well in warm and humid tropical climates, so if you’re in such an area, growing them outside is a good choice. Cacao trees are also susceptible to wind damage, so make sure they are not too exposed. However, if you’re in a colder region, it might be better to grow your cacao trees indoors to give them the warmth they require. In the San Francisco Bay Area, indoors is the only option since it can drop to near freezing during the winter months.
Keep in mind that growing cacao at home might be a bit harder since the tree is not in its usual environment. But if you’re dedicated and create the right conditions, you can enjoy the satisfying experience of growing your own chocolate ingredients.
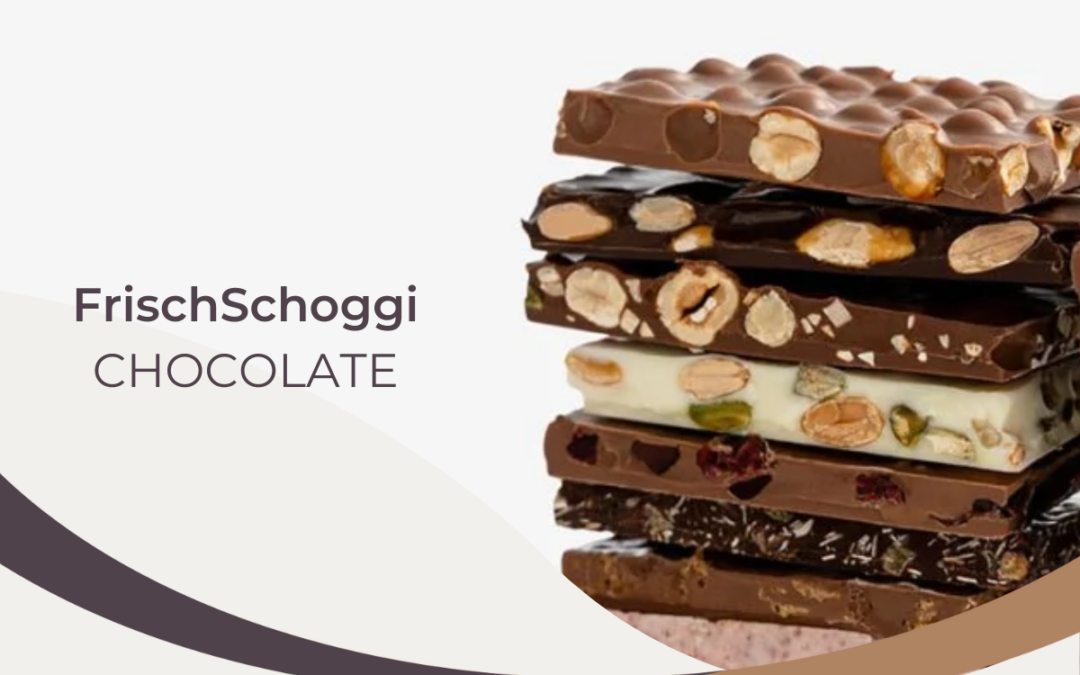
Cacao seeds guide – Types and which one to choose
Selecting the perfect cacao type is essential for your chocolate-making adventure. In this article 10 distinct varieties of cacao: Ultimate cacao guide, we explore different varieties of cacao from around the world. Each variety has its own unique flavor profile, ranging from fruity and floral to nutty and fudgy. When making your selection, make sure that you check the status of your selected variety to determine if it is self fertile or not. If not, you will have to grow at least two trees in order to cross-pollinate the flowers.
We also strongly recommend the book “The New Taste of Chocolate, Revised,” which delves into genetic discoveries related to chocolate varieties.
Step by step Guide on how to grow chocolate at home
Step 1 – Location Selection
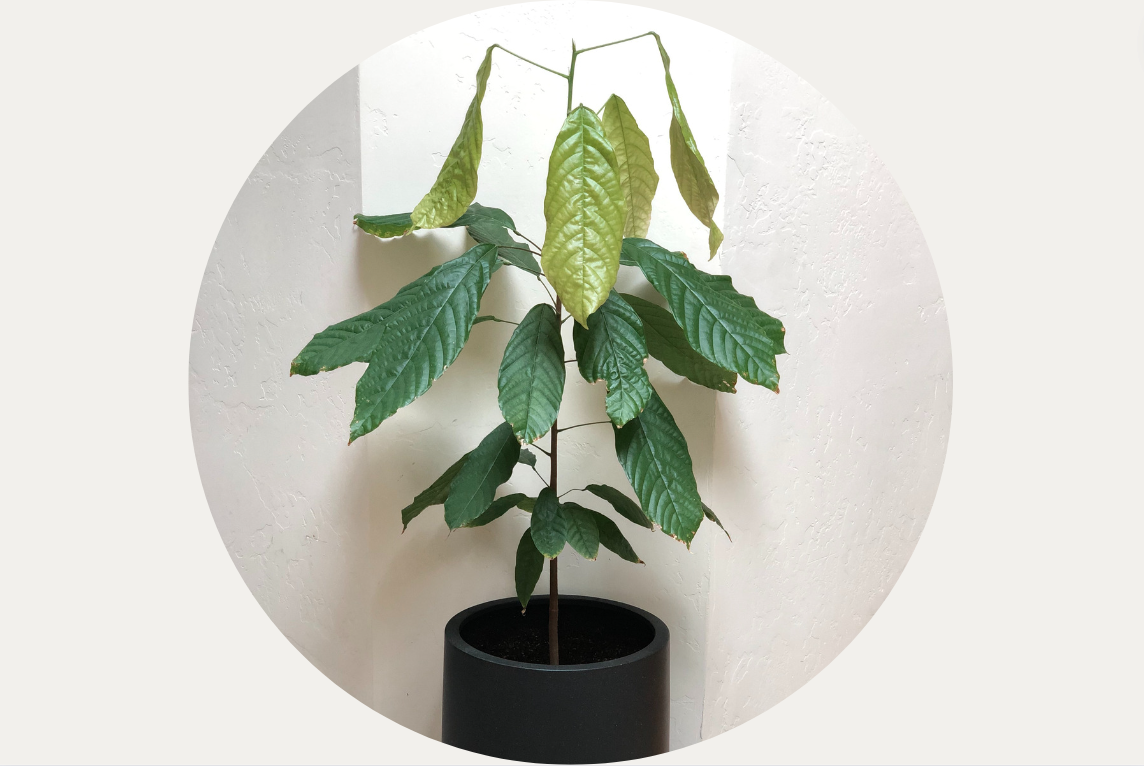
Cacao trees love tropical climates with steady warmth and humidity, usually within 20 degrees of the equator. If you’re thinking about growing your chocolate at home, it’s important to consider your local climate. Depending on where you live, you might decide whether to grow your cacao indoors or outdoors. Temperatures between 65-85 F are ideal for cacao trees. Anything colder and it will die. Additionally, keep in mind that cacao trees can thrive in both full sun and partial shade, but seedlings shouldn’t be exposed to intense sunlight. If you’re growing your cacao plant indoors, a sunny window is an ideal spot for it.
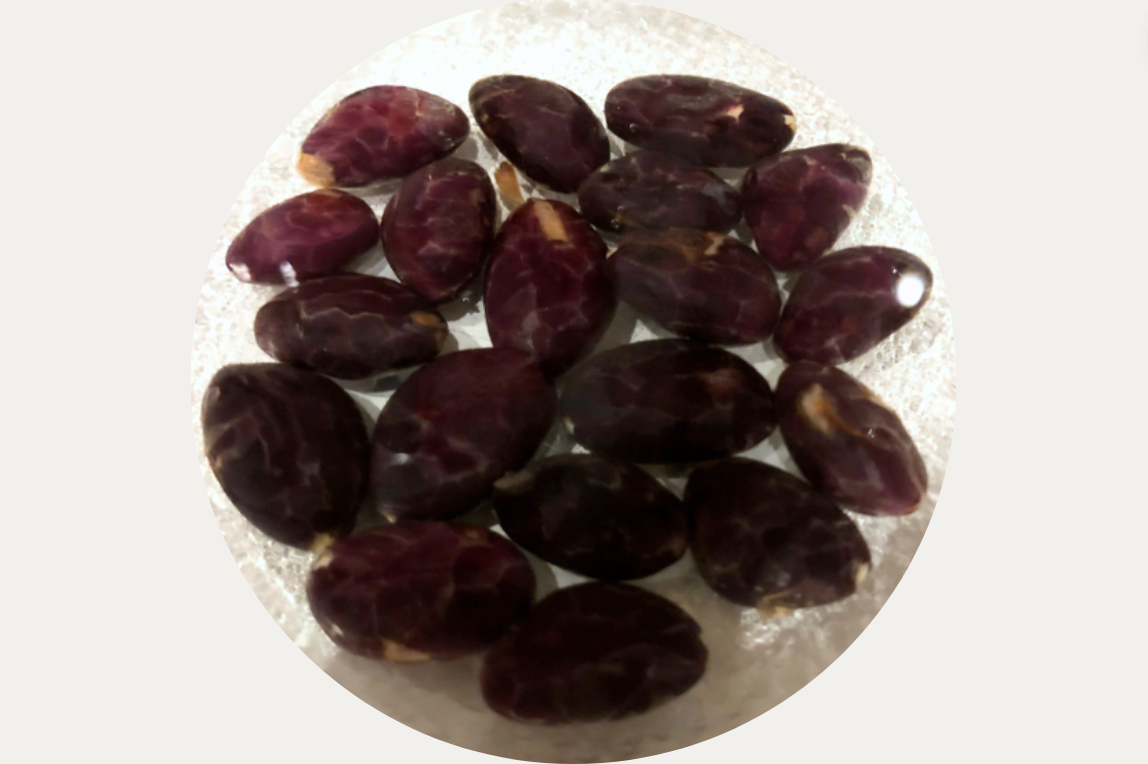
Step 2 – Prepping the Seeds
First and foremost, get cacao seeds from a reliable source and make sure they are fresh. If the seeds are fresh, they will be covered in a white pulp. Wash off all the pulp by lightly rubbing the outside of the seeds under running water. You can carefully peel off the outer seed shell, which will assist the germination (not easy to do and will take some practice). Once the seeds are prepped, place them in a bowl of water for 1-2 days until the root starts to poke out the side of the seed. Your seeds are now ready to plant. Don’t leave them in the water for too long or they might start to rot.
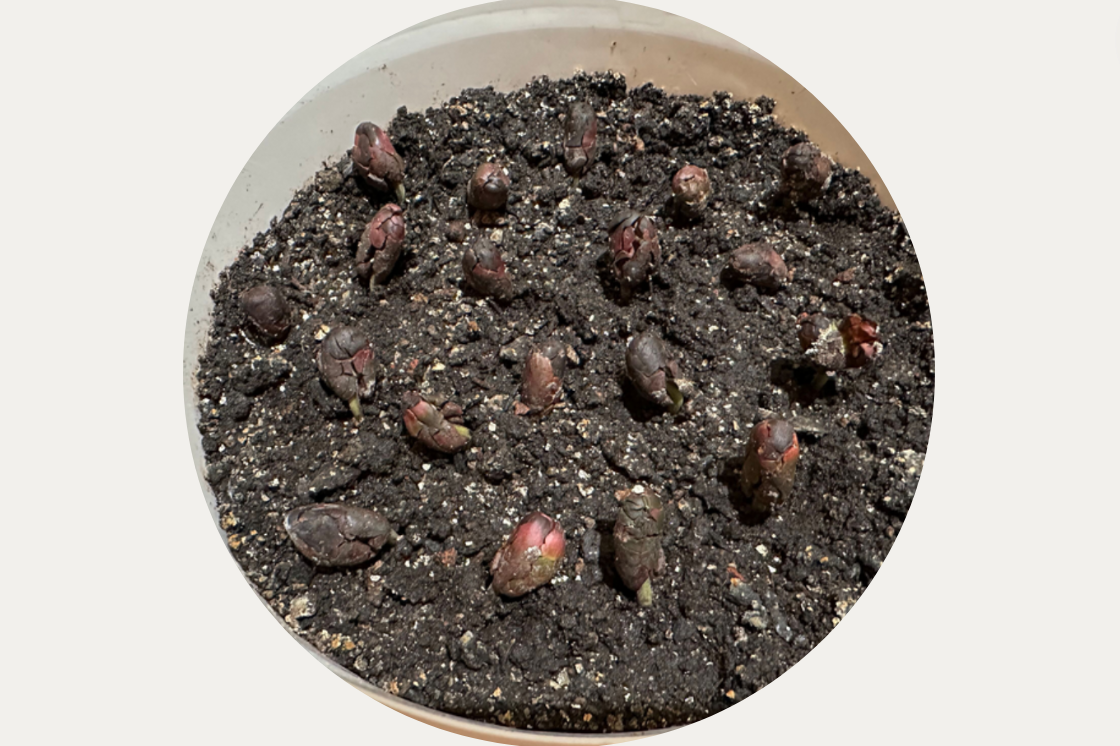
Step 3 – Planting the Seeds
Plant the seeds in small pots filled with soil that drains well and is rich in nutrients. Ideally, the soil contains about 50% perlite or coarse sand to ensure proper drainage. When planting the seeds, make sure that they are pointing root side down and only bury them halfway into the soil. The seeds are prone to rotting, so make sure they are poking out of the soil.
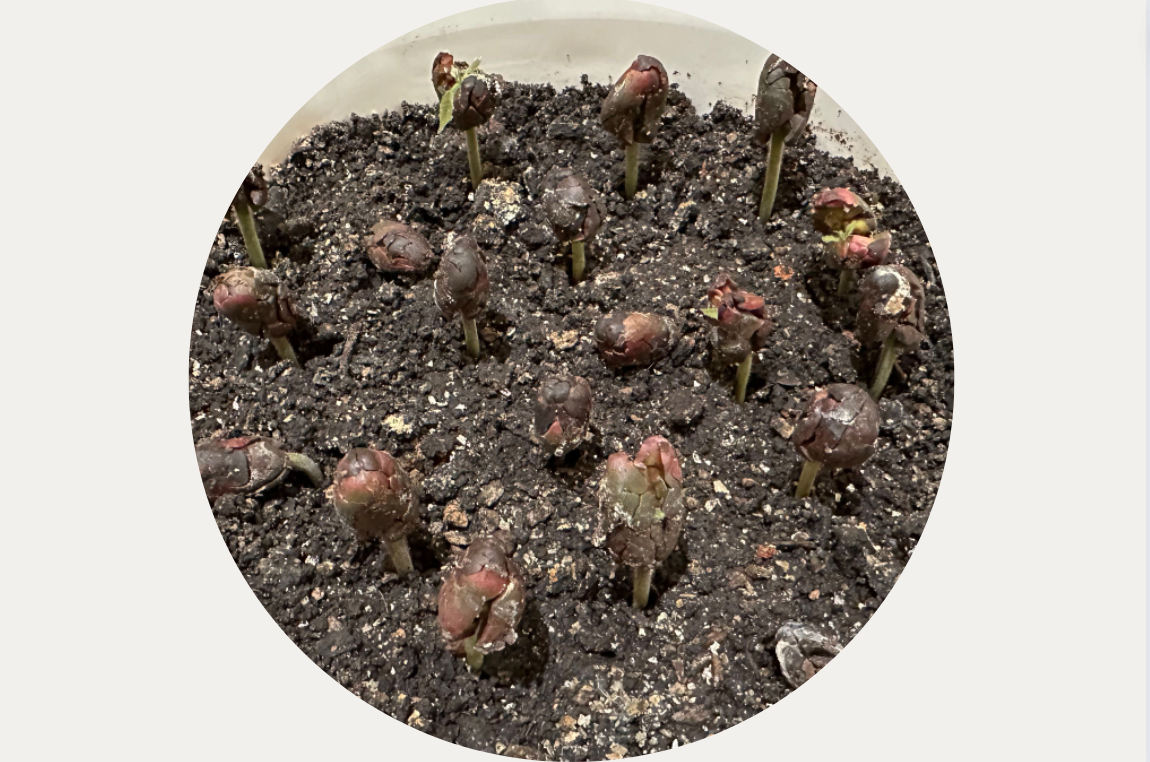
Step 4 – Germination
Ensure the soil stays consistently moist and warm to support germination, which might take several weeks. Cacao trees prefer consistent soil moisture, so regular watering is key to their well-being. Watering twice a week should be sufficient. The seed will slowly elevate themselves as the root pushes into the soil and it will open to reveal a few true leaves.
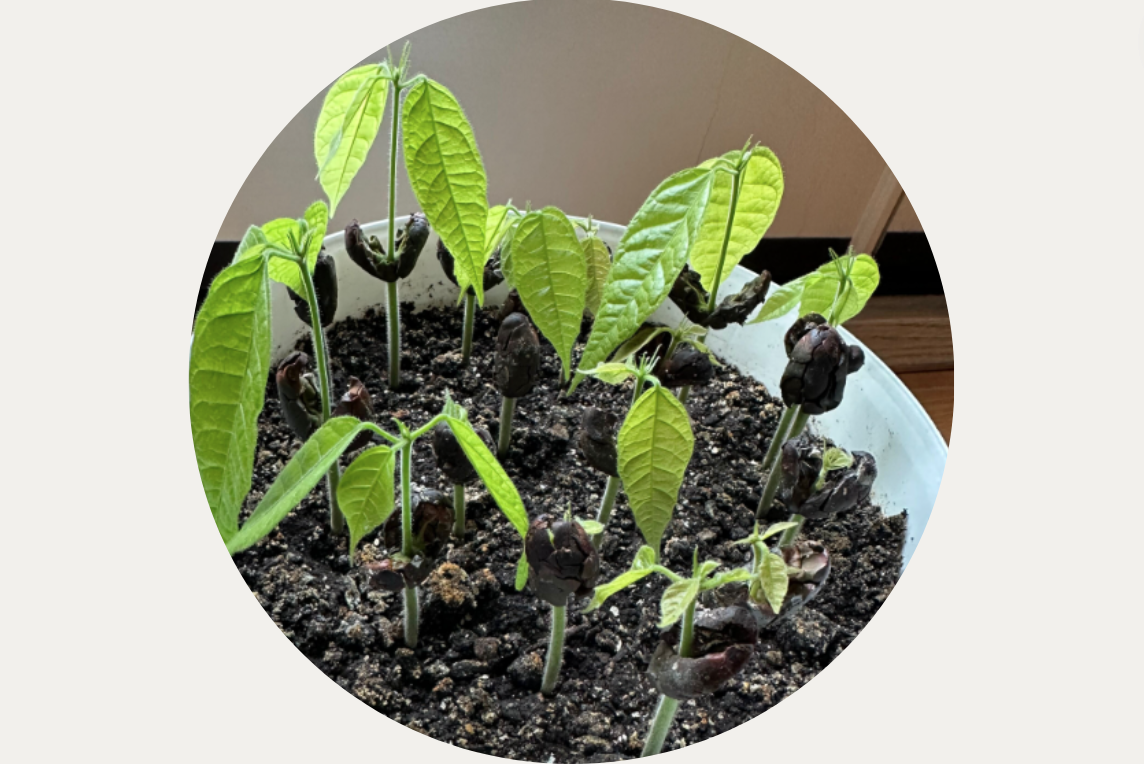
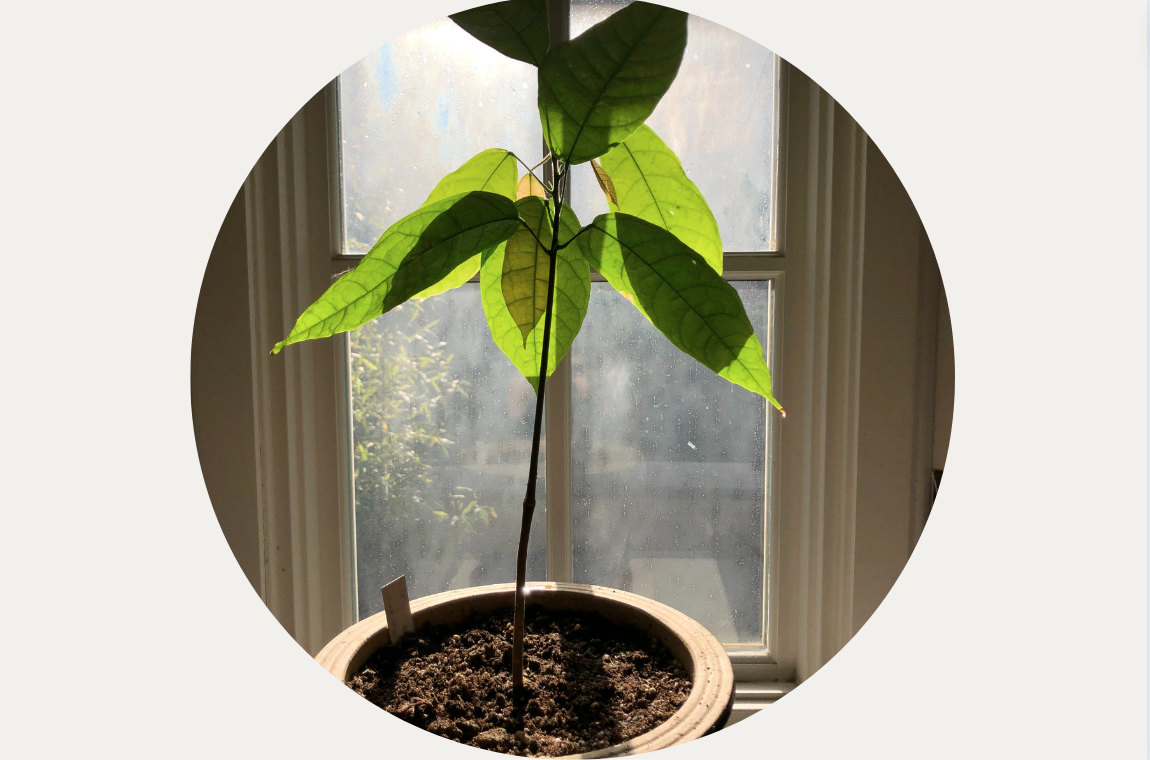
Step 5 – Transplanting Seedlings
Once seedlings have several leaves, transplant them to larger containers with well-draining soil. Cacao trees prefer slightly acidic soil. Provide regular, deep watering, especially during dry periods. From time to time, your cacao tree will surge in growth and you will notice your plant quickly doubling in size. Misting your trees with water or keeping an open water container near them to increase humidity will make your plants happy.
If your climate allows, consider planting the cacao tree outdoors in a location with partial shade.
Step 6 – Repotting
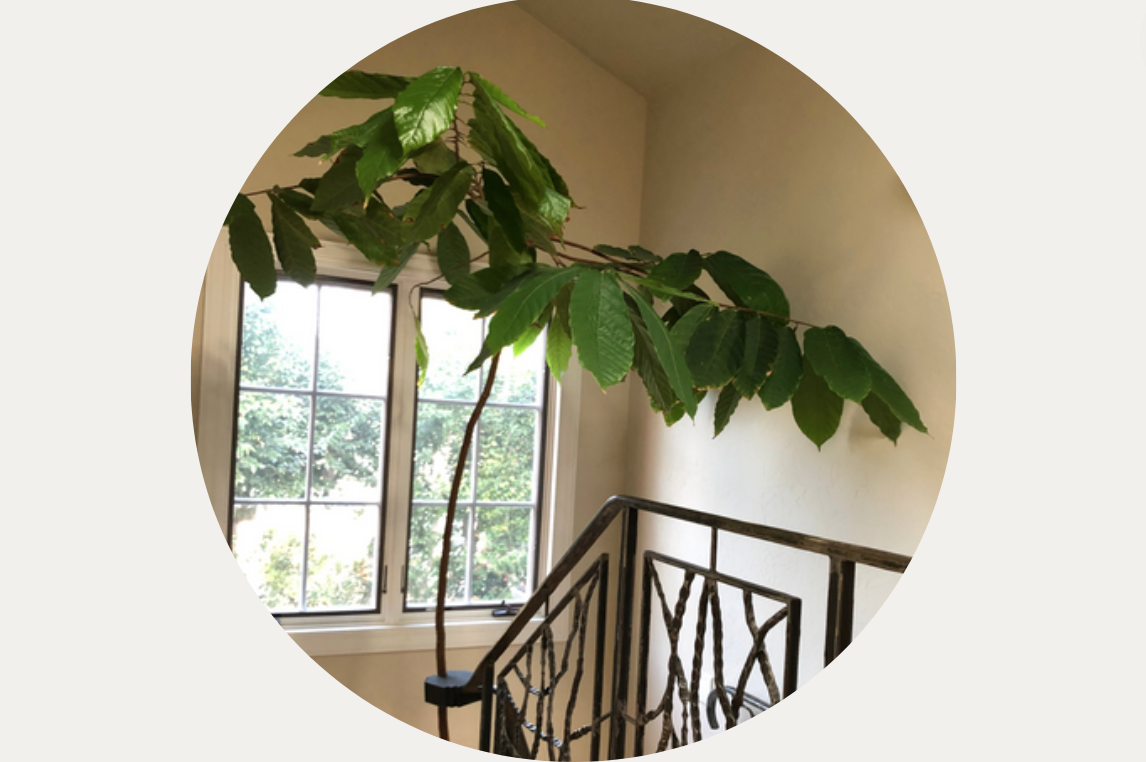
Each year, your tree should grow several feet in height. As the trunk gets bigger and bigger and the tree gets taller and taller, transplant your cacao tree to larger and larger pots. Eventually, if you are keeping your cacao tree potted, you’ll want to transplant it to a pot that is 20 inches or larger in diameter.
Step 6 – Tree Maturation
When the tree hits about 5-7 ft and still a single trunk structure, it will naturally send out perpendicular branches that run almost parallel to the ground. There is no need to prune or “top” the cacao plant as it will naturally transform its structure and develop a canopy.
As your tree continues to mature, it will start to produce your first little cacao flower buds!
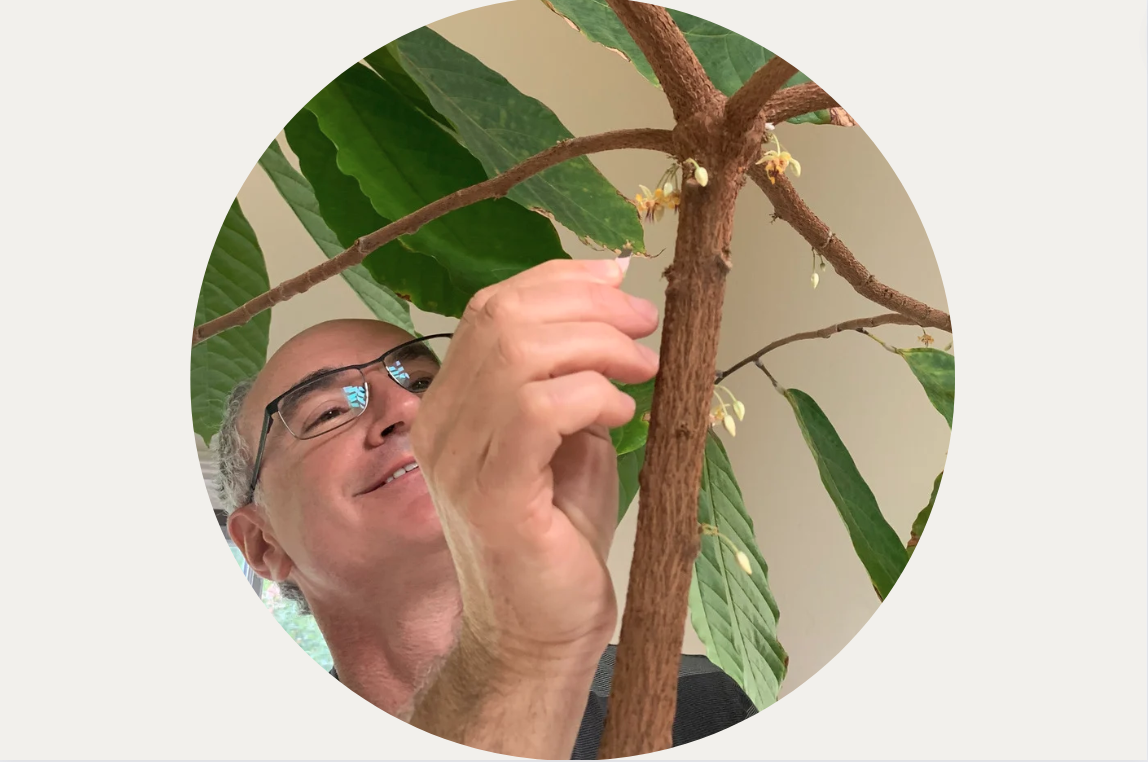
Step 7 – Hand-pollination
There are no birds or bees indoors, so your flowers will have to be hand-pollinated (of course, if you’ve been read the CocoTerra blog, you know that only midges pollinate cacao flowers, so even if your plant were outdoors, you would still need to hand pollinate).
Hand-pollinating cocoa flowers involves transferring pollen from the male parts (stamen) to the female parts (pistil) to facilitate fertilization. Begin by selecting recently opened flowers. Gently tap a mature male flower to release pollen onto a clean, dry surface. Collect the pollen using a fine brush or cotton swab. To improve the likelihood of successful fertilization, repeat the hand-pollination process on several female flowers. Alternatively, you can pluck the stamen off one flower with a forceps and gently touch it to the pistil of another flower. The flowers are only fertile for a day or two, so don’t miss your opportunity to pollinate. Also, the flowers are more receptive in the early morning hours, so as they say… the early bird gets the cacao pod!
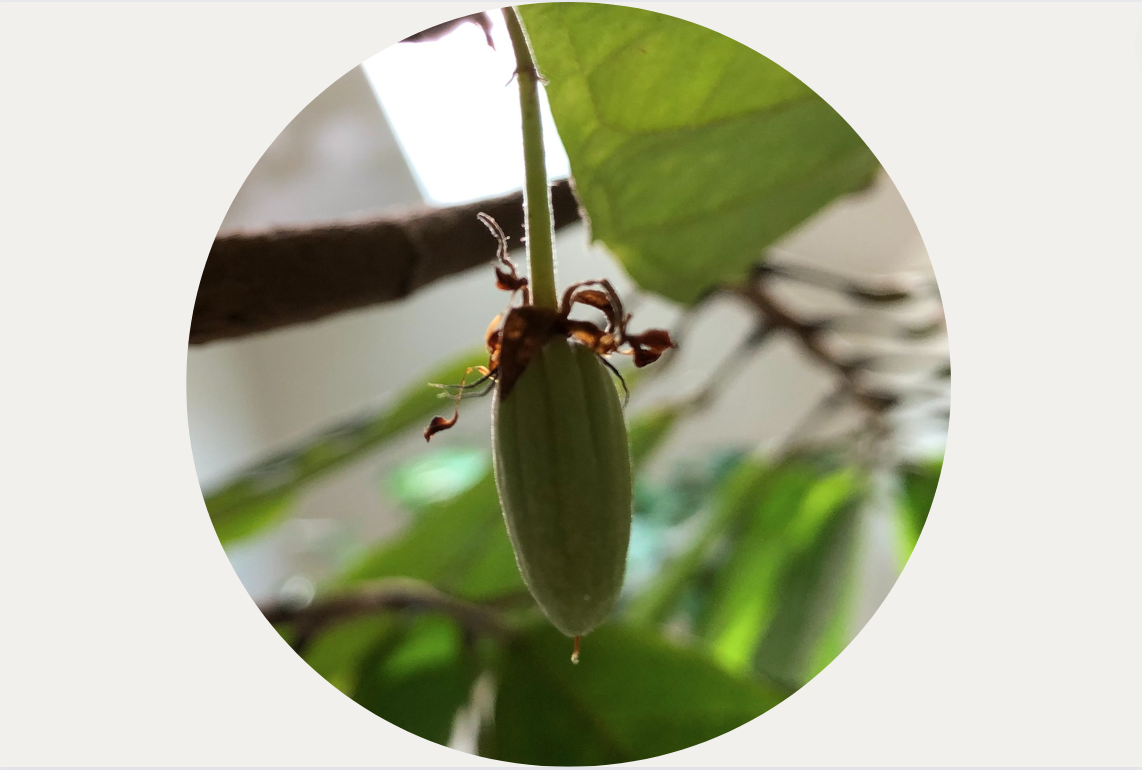
Step 8 – The first sign of success!
The initial sign of success! A baby cacao fruit emerges… At this stage, witnessing the formation of a tiny pod indicates that the most challenging phase has passed, and you are on the right path! Yes, this is an exciting time, but (there’s always a “but”), cacao trees have a habit of aborting fruit if conditions are not right. This process is called cherelle wilt and it is a natural fruit-thinning process where the baby pods will dry out after 6-8 weeks. Don’t be discouraged. Keep hand pollinating and eventually, your fruit will make it past this critical stage.
Step 9 – Patience and Care
Be patient and continue to care for the tree, The cacao pods will gradually increase in size, growing a little each day.
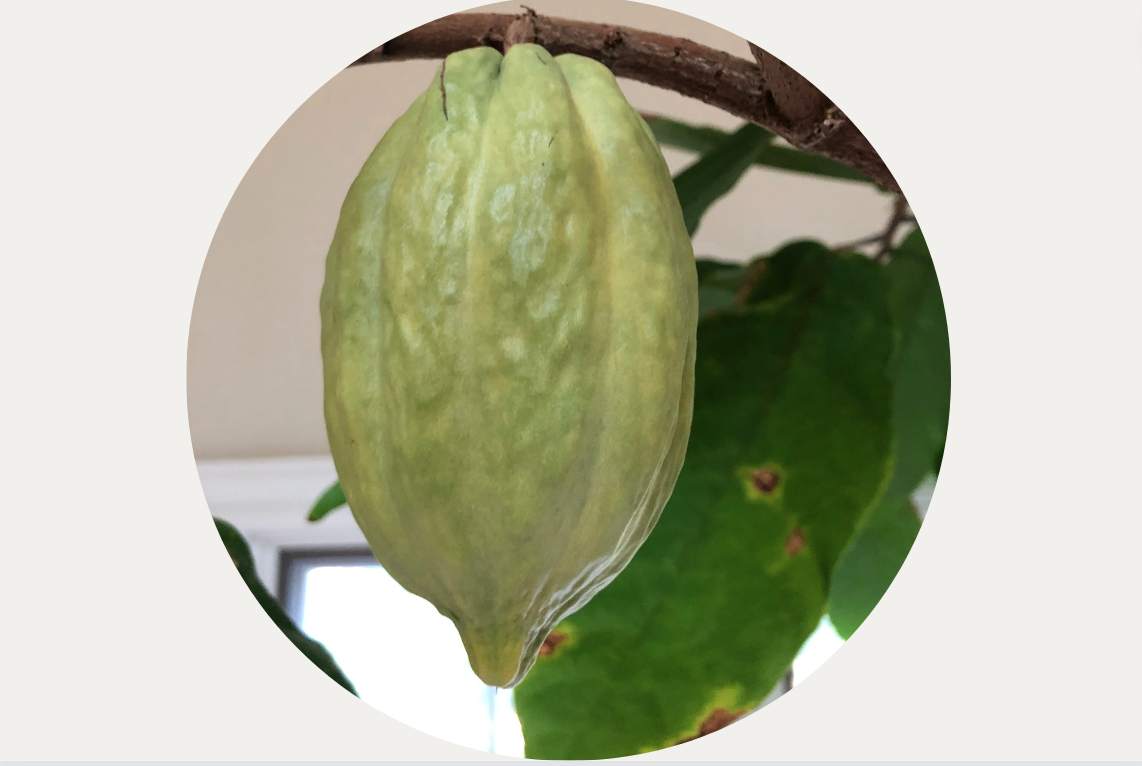
Step 10 – Ripening
The pod will begin to plump up, and its color will transition from green to a yellowish tone (the color will depend on the particular variety that you are growing).
When the pod has a yellow tone this is an indication that the cocoa beans inside are maturing. Ripe cocoa pods tend to become slightly softer compared to their firmer, unripe pods.
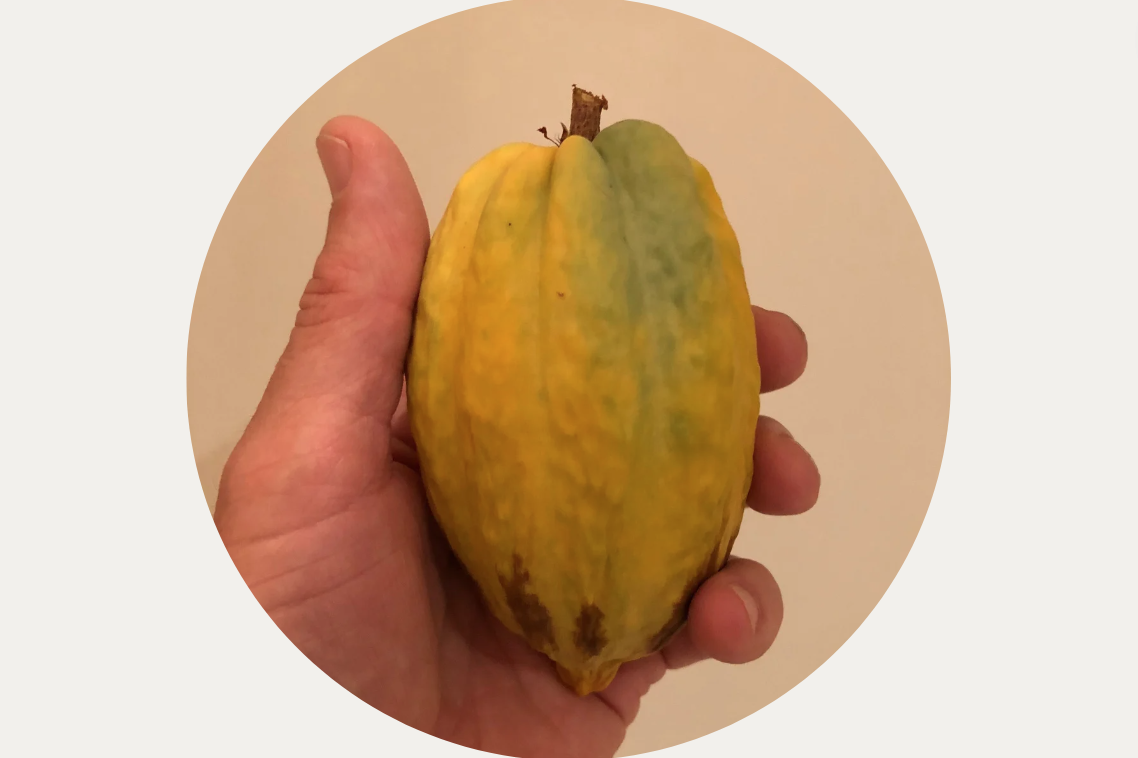
Step 11 – Harvesting
With a lot of patience and hard work now you will have a fresh cacao pod ready to be transformed into delicious chocolate. Of course you know that this is just the start of the chocolate-making process.
Carefully use a sharp knife to cut the stem of the mature pod, ensuring not to harm the surrounding tree or other pods. Extract the fresh seeds and pulp. You can suck on the seeds and enjoy the tropical tasting pulp, or you can collect them all together and ferment them to initiate the chocolate-making process for your own delicious homemade, single-origin chocolate bar.
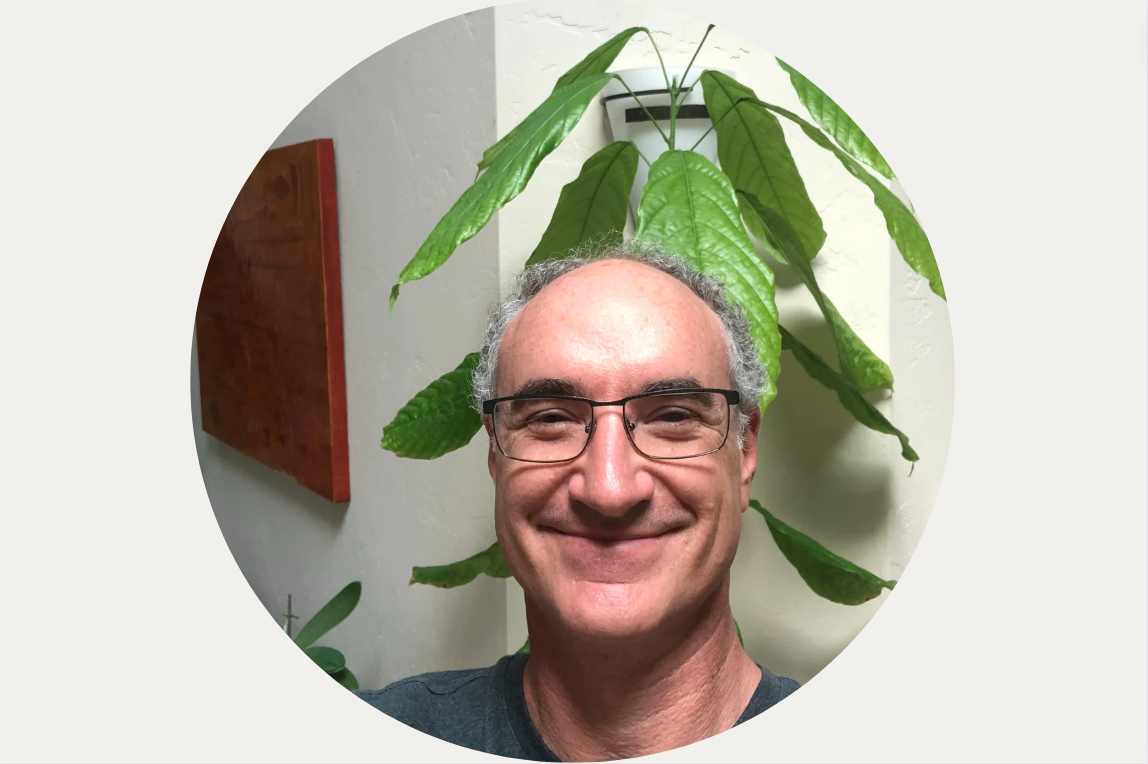
Voila! That’s how our founder, Nate Saal was able to make a single-origin cacao from California!
For more great articles, check out the rest of our CocoTerra blog.
If you have any questions or comments, feel free to contact us through our social media channels. We are @cocoterra_co on Instagram and Pinterest and @cocoterraco on X (aka Twitter) and Facebook.