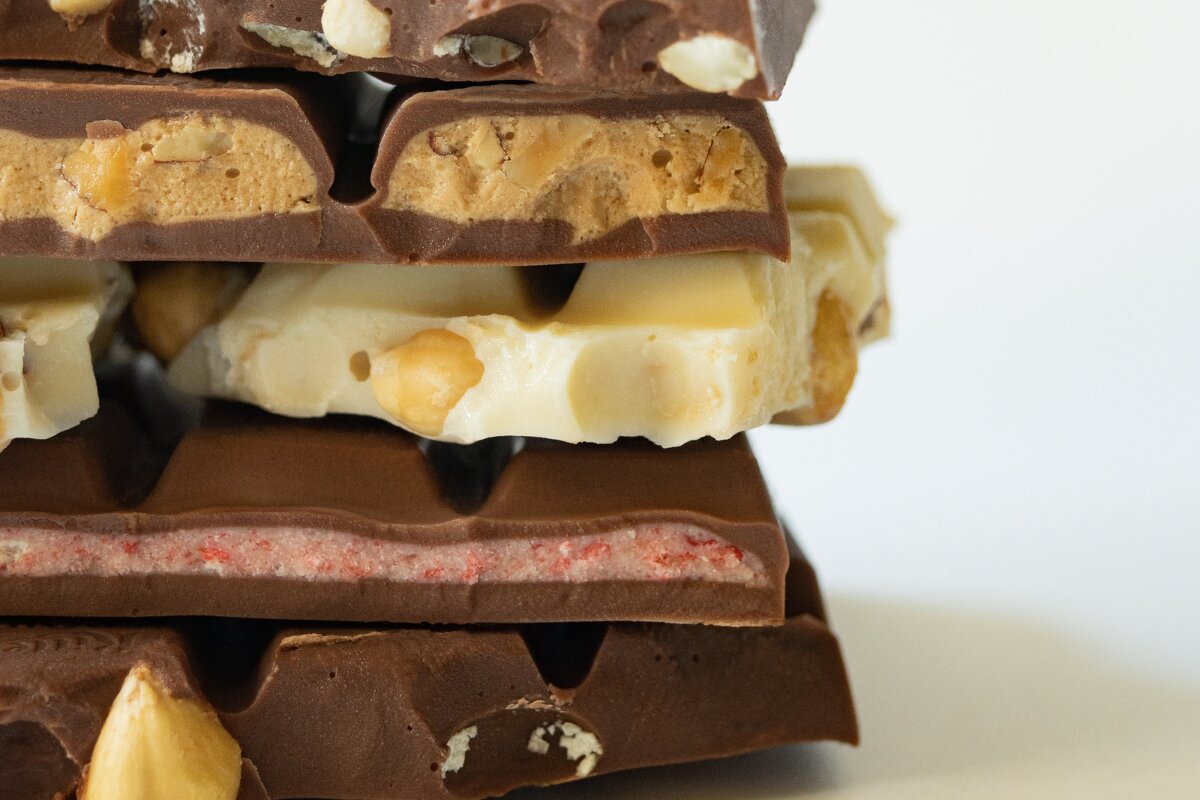
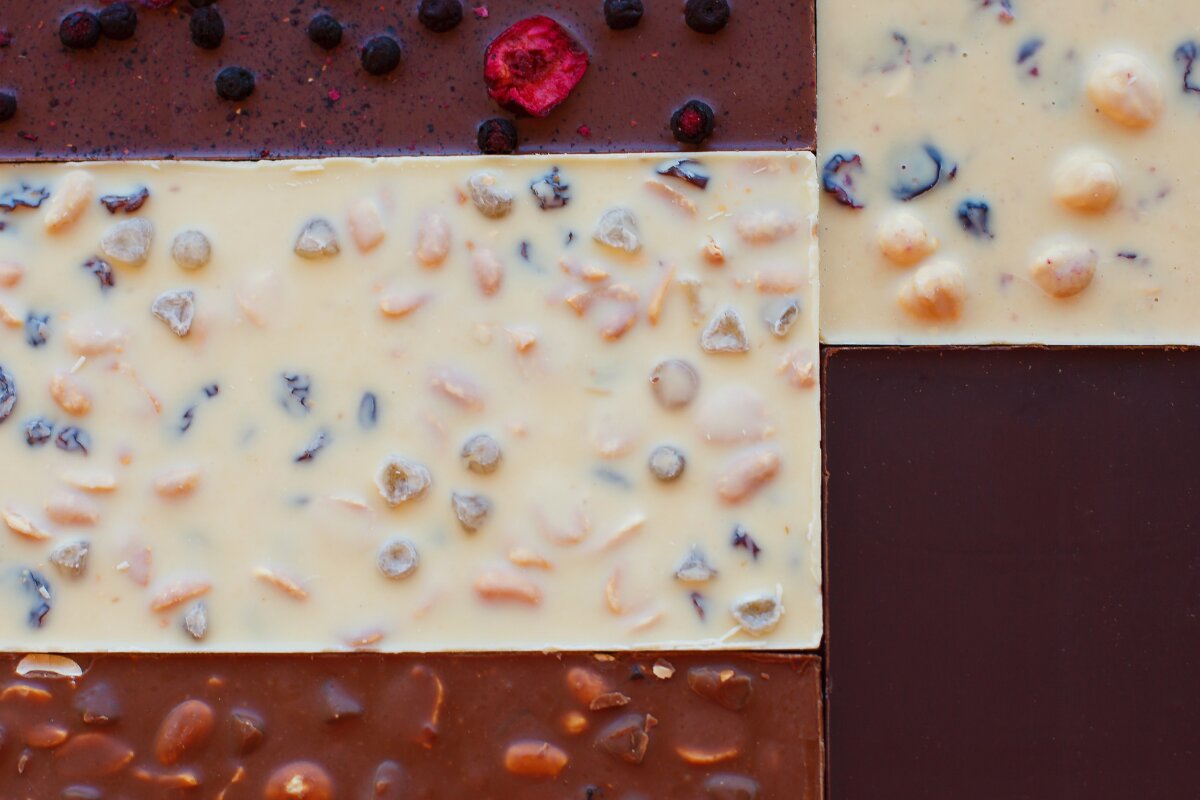
In the world of chocolate, there are many options. You can choose a milk chocolate bar with toffee bits or a dark chocolate bar with hazelnuts. Oh, or maybe you prefer sweet white chocolate with bits of dried raspberry. All of these delicious additions to the chocolate are known as inclusions – substances added to chocolate beyond the widely accepted basic ingredients.
In this article, we’ll discuss what makes up inclusions and some of the different types of inclusions commonly used in chocolate – from coffee and cocoa nibs to marshmallows and candy canes.
What is an inclusion bar?
Inclusions are extra solid ingredients added to chocolate, such as nuts, coffee beans, or dried fruits. They are often used to improve the taste, texture, and visual impact of the chocolate making it more interesting to eat. These are distinct from flavorings and spices that are incorporated into the chocolate to enhance the flavor profile. For example, vanilla is a ubiquitous flavoring that is found in many chocolate bars, but it is not considered an inclusion since it is ground up with the chocolate. In fact, to be considered a contender in the Good Food Awards’ Chocolate Inclusion category, a bar must include an ingredient other than vanilla!
Today, inclusions are more common because we “eat with our eyes.” In the last few years, a number of ingredients have grown in popularity.
Type of inclusions:
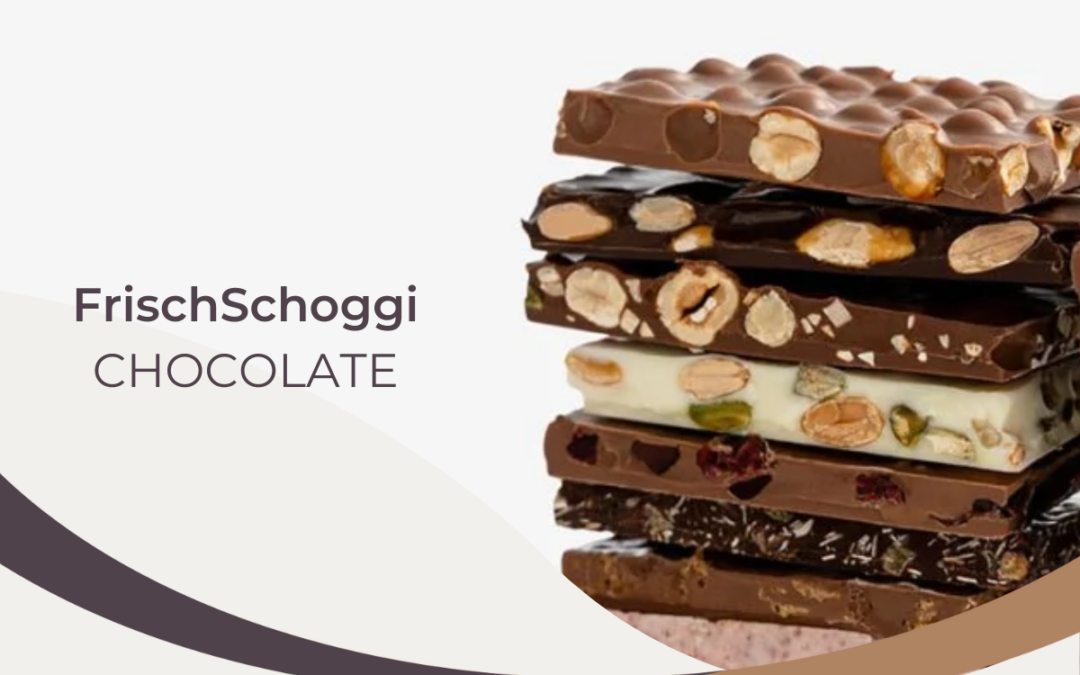
- Nuts – hazel nuts, almonds, pistachios, peanuts
- Nibs – cocoa nibs, coffee nibs
- Salt – sea salt, flake salt, salt crystals
- Herbs – mint leaves, lavender, cardamom pods, peppercorns
- Fruits – sun-dried cranberries, freeze-dried raspberries, candied orange peel
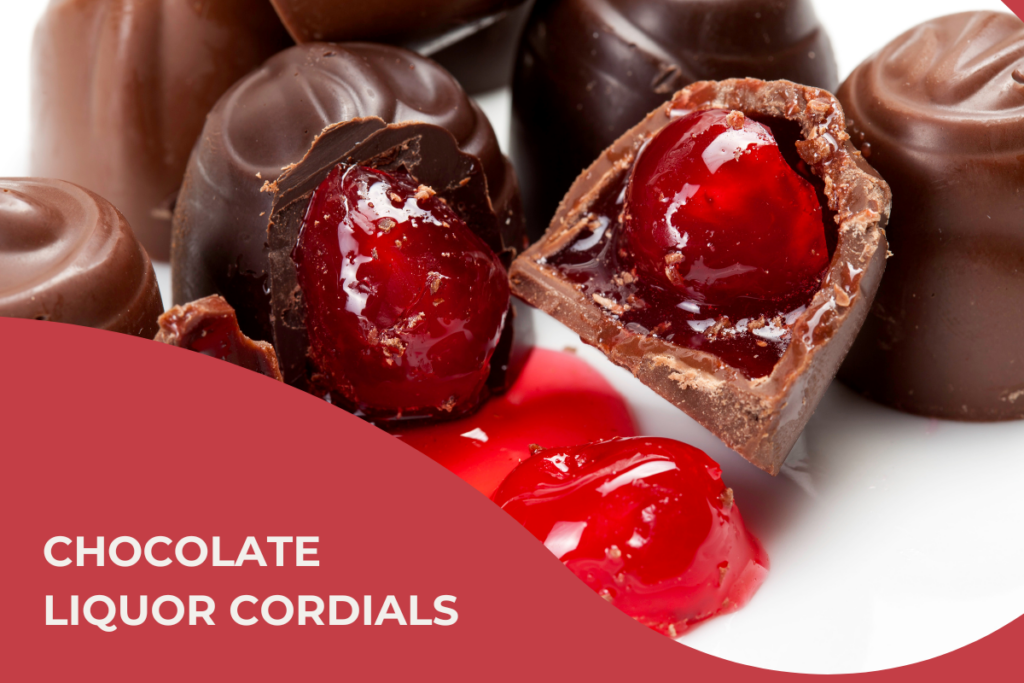
- Other savory items – bacon, toffee, chilies, dried flowers
How are inclusion bars made?
The key is to experiment with different ingredients and pair them with high-quality chocolate, ensuring the flavors are complementary and harmonious.
Inclusions make chocolate more interesting. They add flavor, color, and texture to the already fine chocolate. In some cases, inclusions can be tricky to work with. It is important to understand the chemical properties of each ingredient, as well as how they interact with chocolate.
Inclusion bars are made by first selecting the desired base chocolate – milk, dark, white, or ruby. Next, it is important to decide if the inclusions will be inside the bar or layered on the back of the bar. If inside the bar, the inclusions must be placed in the mold prior to pouring the chocolate. For inclusions on the back of the bar, once the chocolate is tempered, it is poured into the molds, and the inclusions are sprinkled on the back of the bar while it is still liquid. You can try adding fruit and nuts, potato chips, or even sesame seeds. Be creative!
How to make inclusion bars at home
For all of you who are curious, we encourage you to experiment at home and try making some inclusion bars. Here’s a list of some trendy inclusions that could inspire your own chocolate creations:
- Matcha powder
- Pop Rocks
- Lavender flowers
- Coconut flakes
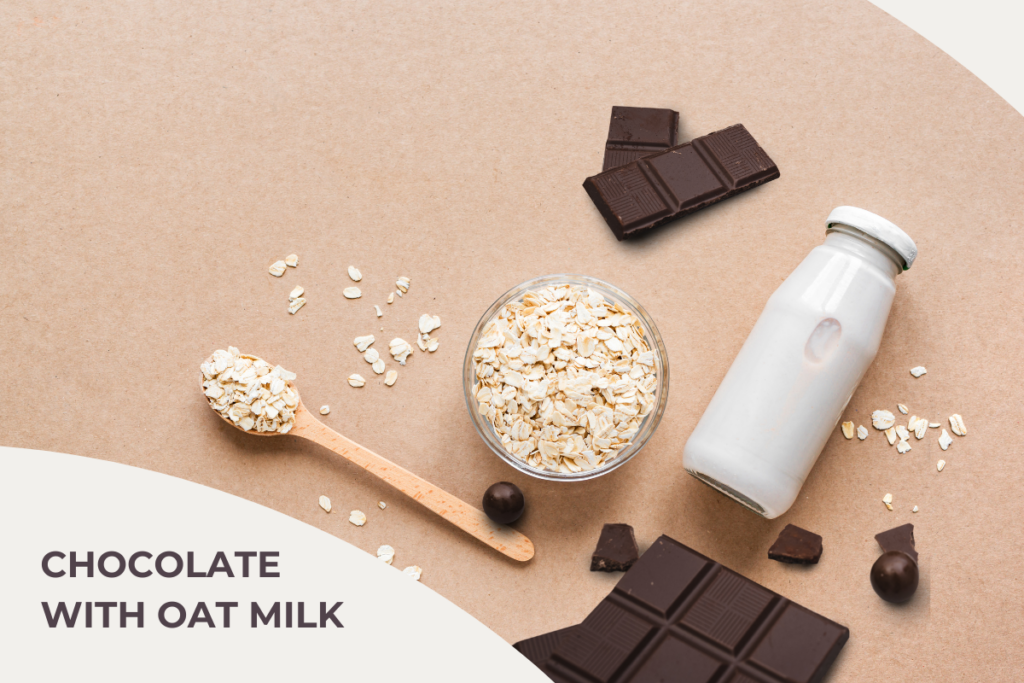
- Rolled oats
- Chili flakes
- Maldon sea salt crystals
- Dried rose petals
- Chia seeds
Chocolate lovers let’s have some fun!
METHOD
- Chop 150g of chocolate into small pieces.
- Place ⅔ of the chocolate in a clean, microwave-safe bowl.
- Microwave the chocolate in 15-second intervals, stirring with a spatula after each blast.
- Continue until all the chocolate is just melted (don’t be tempted to heat for longer intervals as the chocolate might burn).
- Finish by pouring the remaining chocolate into the bowl and stir until all the pieces have melted.
- Stir regularly so that the chocolate cools to the appropriate target temperature:
- Milk chocolate: 84°F – 86°F / 29°C – 30°C
- White chocolate: 82°F – 84°F / 28°C – 29°C
- Dark chocolate: 88°F – 90°F / 31°C – 32°C
- Pour the chocolate mixture into your favorite mold or onto parchment paper.
- Tap the mold on the countertop to release air bubbles or to spread the chocolate in a thin layer on parchment paper.
- Add your inclusion on top.
- Let set for 60 minutes on the counter or 15 minutes in the fridge.
- Once set, remove the chocolate from the mold or parchment paper.
Eat and enjoy!
When storing chocolate-covered inclusions such as crisps, popping candy, or freeze-dried fruit, make sure they are fully coated in chocolate. Otherwise, they risk going stale or soggy very quickly (any sogginess can also cause your chocolate to bloom).
One bit of advice… Don’t overdo it on the quantity of inclusions. A tablespoon of your inclusion per bar is normally plenty; for something like freeze-dried raspberries or coffee, about a teaspoon is enough.
We hope you have been inspired to be creative and bold when making chocolate with inclusions at home! Inclusion always adds a touch of fun to the process. For more great recipes, check out the rest of our CocoTerra blog. If you have any questions or comments, feel free to contact us through our social media channels. We are @cocoterra_co on Instagram and Pinterest and @cocoterraco on Twitter and Facebook.