Why is it so hard to work with chocolate? Chocolate can be one of the most difficult ingredients to work with in the kitchen. Without a doubt, it is an ingredient that can make desserts spectacular, can impart both bitterness and sweetness, and can take a variety of shapes and forms. It is essential for many desserts, but what makes it so difficult?
Working with chocolate can be frustrating, especially when you try to create solid chocolates like bonbons and bars, either because they stick to the molds, crack when removed from the molds, or melt as soon as you touch them.
But don’t worry, we’ll give you all the tips and tricks to make the chocolate molding process less stressful and more successful. Keep reading and find out all about chocolate molding techniques.
What is molding chocolate?
Molding involves shaping the liquid chocolate with the help of a form to achieve a desired design. The result of the molding process can be filled or solid chocolate shapes, bars, or various hollow figures for decoration. You can create chocolate objects of different shapes by using single molds or two-part molds (typically used for 3D shapes). The molds are typically made of a few different materials, such as silicone, metal, polycarbonate, or PET plastic.
Proper Chocolate Molding Techniques
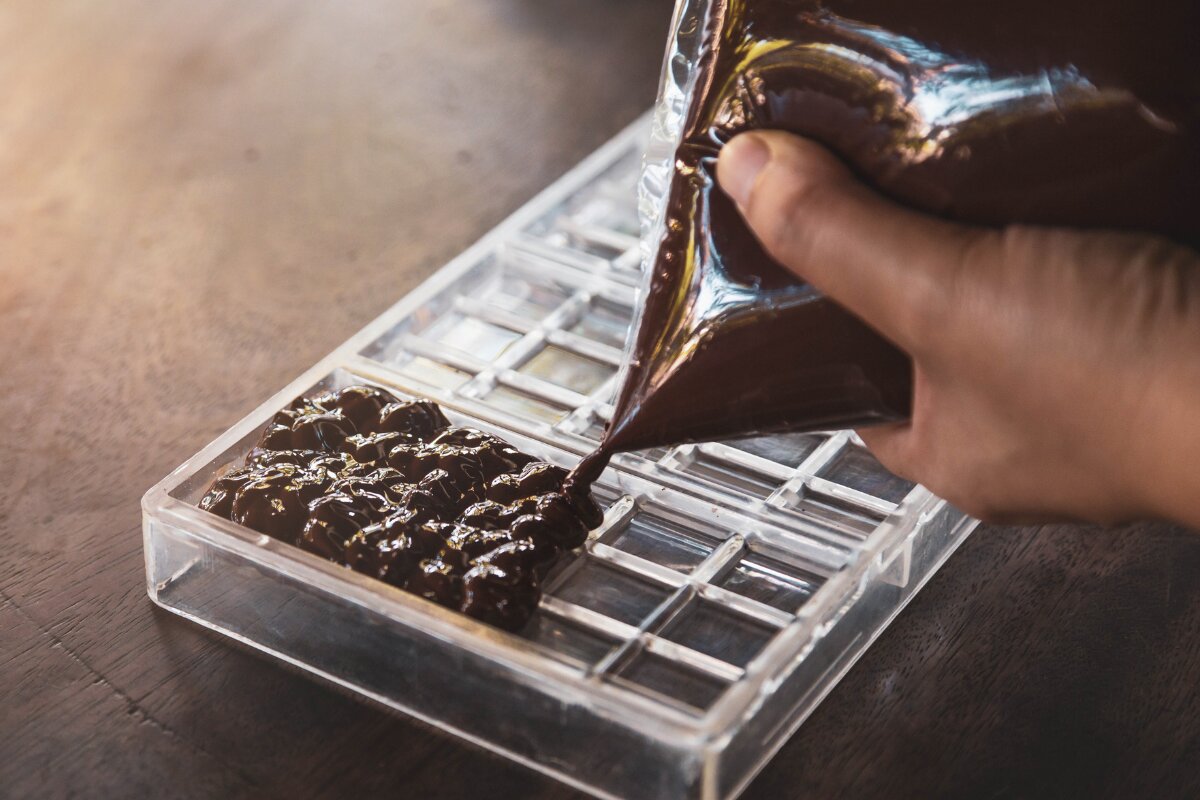
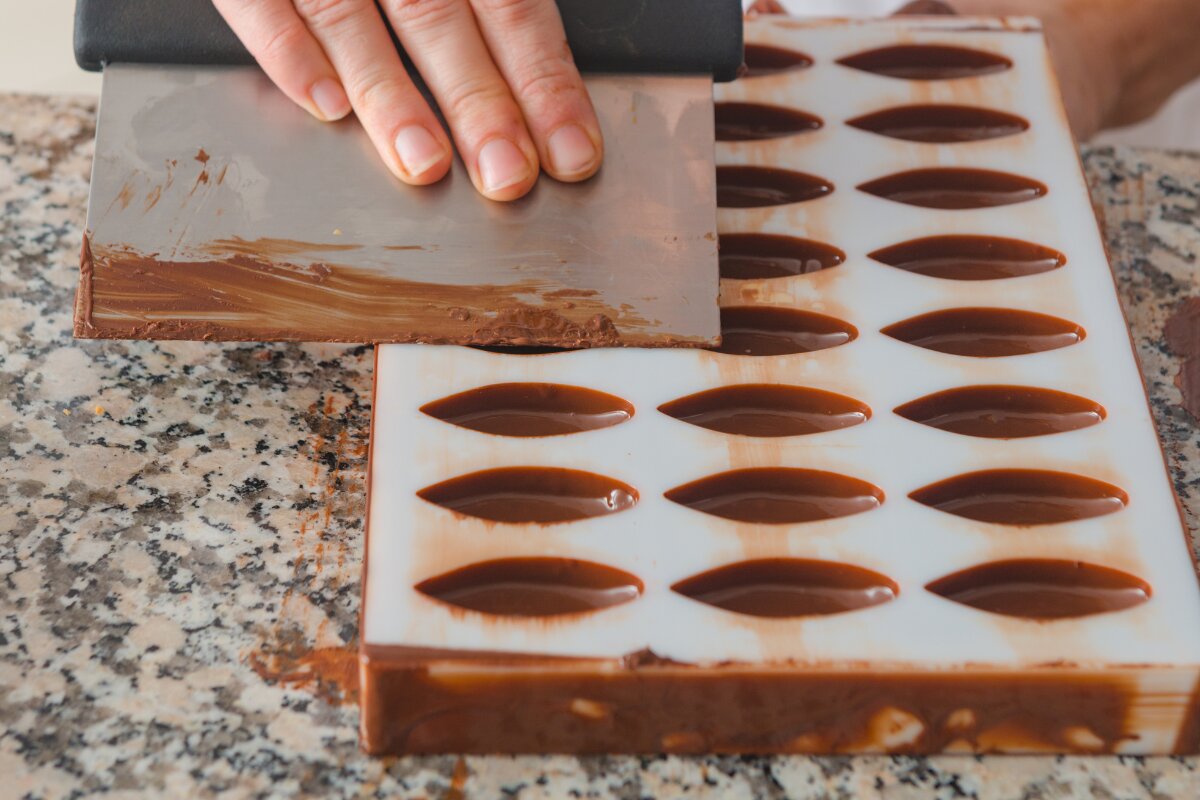
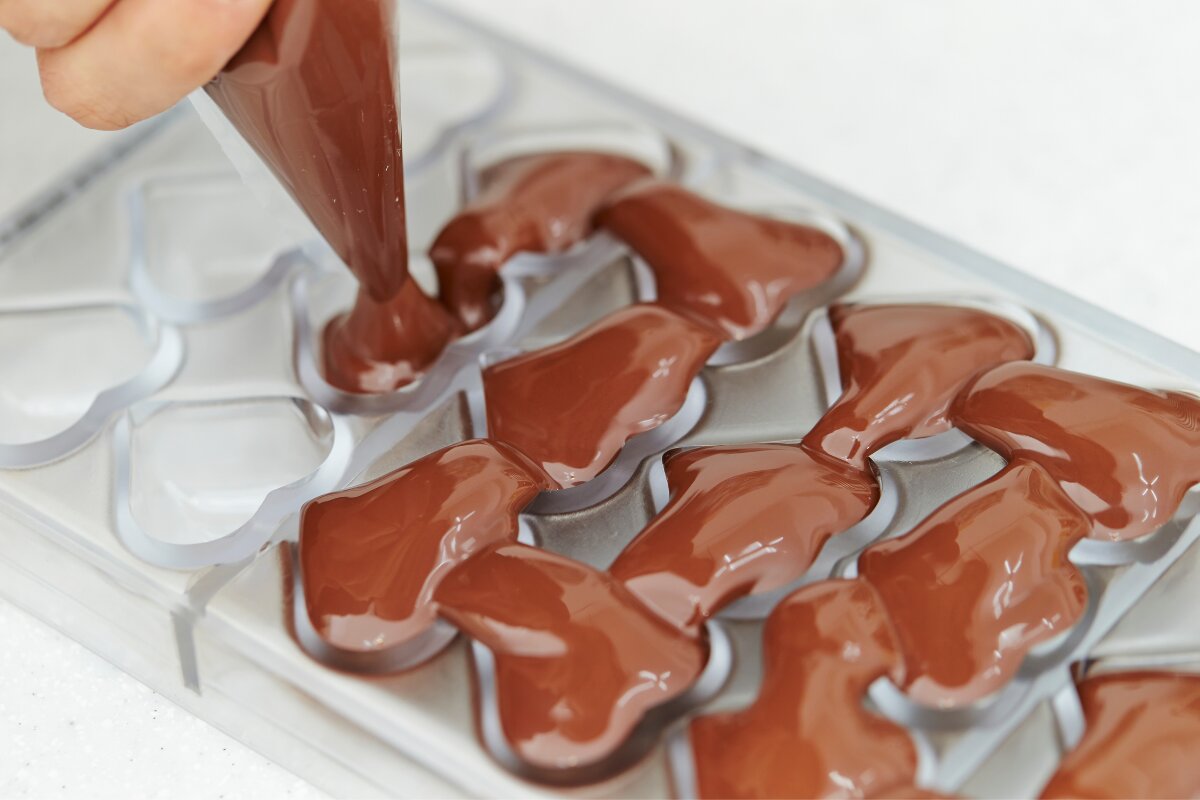
When making bars, tempered chocolate is poured into a mold, the mold is then vibrated or tapped to ensure that the chocolate fills the mold and that any air bubbles are removed. It is best to put the mold on a scale so that the same amount of chocolate is poured into each well or use a device that measures the amount that comes out. The mold should be left undisturbed so it can harden before being demolded.
When molding, make sure the temperature of the molds is no higher than 79°F-81°F for milk and white chocolate and 83-85°F for dark chocolate. This will ensure that when the chocolate hits the mold that it won’t suffer from thermal shock and lose its tempering. Poor temperature control can also lead to unappealing lines on the surface of your chocolate. Ideally, after you’ve poured your chocolate into the mold, let the chocolate solidify between 59°F-64°F especially if you live in a warmer climate.
For hollow objects, the shells or chocolate figures are formed by filling the mold with chocolate and then flipping it upside down to pour out most of the chocolate. This process leaves behind a thin layer of chocolate in the mold wells. These hollow chocolates can be filled with ganache or other delicious flavors after which are then coated with a final layer of chocolate. If you are working with a two-part mold, the two halves can be “glued” together by applying a little heat to the edges and holding them in place until solid.
What is the best melting chocolate for molds?
Making chocolate confections at home can be quite a complicated task, especially if you want to make different designs and fillings. So it is important to choose the right chocolate. The best melting chocolate for molding is one that has a high percentage of cocoa butter. This chocolate will be easier to work with and is formulated so that it melts and sets nicely, providing a smooth finish. So, when trying to decide what type of chocolate to use for molds, consider not only the flavor of the chocolate but also how it melts.
If you are a beginner and looking for the best melting chocolate for your molding project, try couverture chocolate (available from suppliers like Valrhona and Callebaut). This is commercial chocolate with a high percentage of cocoa butter that gives the chocolate a high-gloss finish and it is perfect for melting and tempering as well. As your skills develop, you can try to work with single-origin or craft chocolate with fine flavor.
We’ve made a list of some good starting options for good melting chocolate for your molding projects:
- Callebaut Couverture Chocolate – Belgian 54.5% semisweet dark chocolate
- Valrhona – Guanaja 70% dark chocolate.
- Ghirardelli Melting Wafers – Dark chocolate and white vanilla-flavored wafers
- Guittard Organic Chocolate Wafers – 74% cocoa bittersweet chocolate wafers
- Baker’s Premium Chocolate Baking Bar – 100% cacao unsweetened chocolate
Once you have your chocolate selected, make sure that you are working with good-quality molds. Molds vary in size, complexity, and material, so make sure to start simple before experimenting with more challenging molds.
When you are buying chocolate molds, look for the following qualities:
- Durability/flexibility
- Temperature versatility
- Nonstick properties
- Mold shape – (straightforward shapes are easier for beginner chocolatiers)
Why does the chocolate stick to the mold?
There are 4 main reasons why chocolate may stick to the mold:
1. The mold is not completely clean
When pouring the tempered chocolate in the mold, make sure that the mold is completely clean. Remove any old chocolate from previous uses of the mold. It is also very important that there is no dirt, dust, or even fingerprints since that can cause the chocolate to stick. Therefore, it is recommended that you clean and dry the mold with a cotton cleaning cloth, preferably 100% polyester so that it does not leave fibers.
2. The mold is too hot or cold
It is also very important that the mold is near or slightly above room temperature when pouring the chocolate. If it is too cold or too hot it can cause the chocolate to stick or break when trying to remove it from the mold. Abnormal molding temperatures can cause the chocolate to solidify unevenly or even take the chocolate out of temper. Before unmolding, pay close attention that the mold is not still warm.
3. The chocolate was not tempered correctly
In this case, the problem is the chocolate and not the mold. If the chocolate being poured into the mold is not in temper, then the chocolate will not solidify properly and removal will be a challenge. Properly tempered chocolate will be firm and actually shrinks slightly, which aids in the demolding process. If your chocolate is soft and doesn’t have the typical shine of tempered chocolate, then your chocolate may be out of temper.
4. The molded chocolate needs to be cooled
If you are working with thick bars, larger molded shapes, or with a stack of molds, it may be that your molds are not cooling properly. Placing your molds in the refrigerator for 15-20 minutes can help ensure that the chocolate cools properly. It may be difficult to comprehend, but as the chocolate solidifies from a liquid to a solid, it actually generates heat. When molding large chocolate objects, there is the potential that the chocolate might generate enough heat to take some of the chocolate out of temper. Placing the chocolate in the fridge helps to control the temperature and cool it more evenly. Just make sure not to keep it in for too long since you might get water droplets condensing on the outside of your chocolate when you take it out, which can ruin your glossy surface.
How to salvage stuck chocolate
If your chocolate is sticking and you’re having trouble getting it out of the mold, it is best to put the mold in the freezer for 5 to 10 minutes. This will firm up the chocolate and get it to pull away from the mold. You may need to flex the mold slightly to get the chocolate to release from the mold. By turning the mold upside down and tapping gently, the chocolate should release more easily.
A new way to mold chocolate
If you’ve had a chance to check out the CocoTerra machine in action, you’ll notice that the machine molds in a very unusual way. The chocolate is centrifugally molded into a ring of chocolate. The CocoTerra chocolate maker tempers the chocolate before automatically molding it, so the hard part is handled by the appliance. So, if you want professional-looking mold chocolate make sure to try the CocoTerra chocolate maker.
But in the meantime, make sure to follow our steps for tempering and prepping your molds before you start pouring. As mentioned before, you should also pay attention that your molds are clean and at the proper temperature and that the chocolate has been properly tempered.
To sum up
The key to successful chocolatiering is getting good molds and buying the right chocolate. Before starting the procedure, don’t forget the molds must be clean, without traces of grease or stains, and dry.
We hope this post will get you started on your journey to becoming a chocolate expert. It may seem challenging at first, but with knowledge and experience, you will master the art of chocolate molding techniques.
If you have any questions or comments, feel free to contact us through our social media channels. We are @cocoterra_co on Instagram and Pinterest and @cocoterraco on Twitter and Facebook.